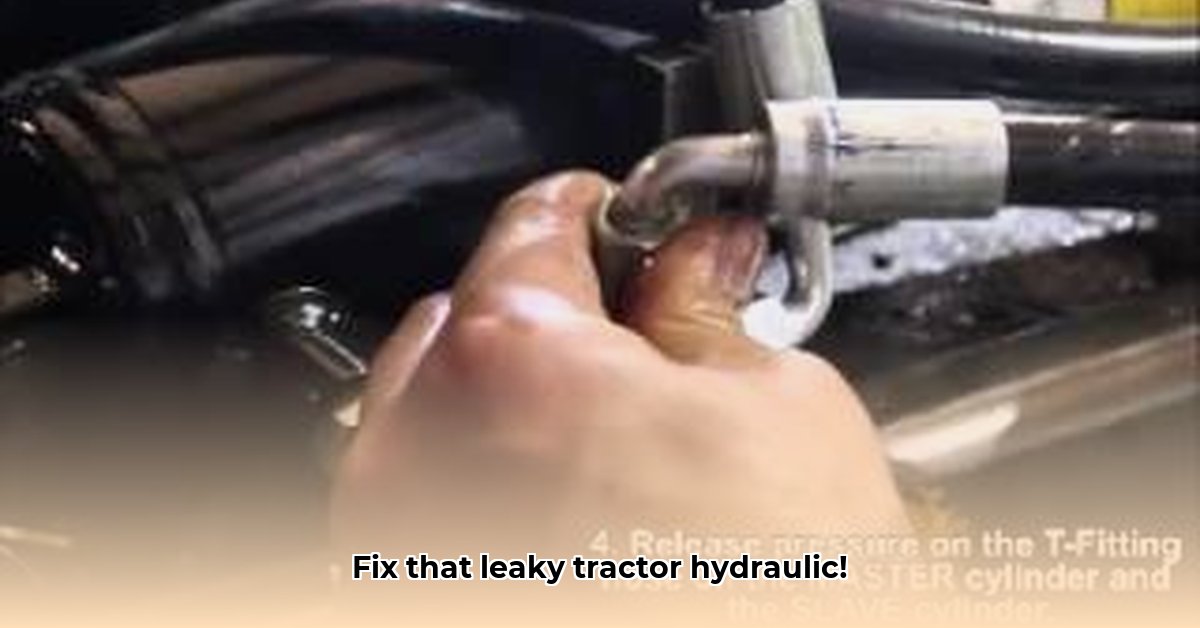
Is your tractor's hydraulic system sluggish or jerky? Trapped air in the hydraulic cylinder is a common culprit, leading to inefficient operation. This guide provides a step-by-step process to bleed your tractor's hydraulic cylinder, restoring smooth and efficient functionality. While straightforward for many, understanding potential complexities, like worn seals, is crucial for success. For more on tractor system protection, see this helpful guide on tractor protection valves.
Diagnosing the Problem: Is It Really Air?
Before you begin, verify that air is indeed the issue. Other problems can mimic air-related symptoms.
- Fluid Condition: Check the hydraulic fluid. Is it bubbly or foamy? Foam strongly suggests air contamination.
- Cylinder Movement: Observe the cylinder's movement. Jerky or hesitant movement often points to air bubbles disrupting the smooth fluid flow.
- Leak Detection: Inspect all hoses and fittings for leaks. Spraying soapy water around connections will reveal bubbles if a leak is present. Fixing leaks is essential before attempting to bleed the system.
If you've ruled out leaks and other problems, let's proceed with the bleeding process. Remember: Safety first! Always wear safety glasses and gloves when working with hydraulic systems.
Gather Your Tools and Materials
Having the right tools simplifies the process considerably. Always consult your tractor's owner's manual for specific recommendations and fluid types.
- Correct Hydraulic Fluid: Use only the fluid recommended for your tractor model. Using the wrong fluid can severely damage your system.
- Bleeder Valve Wrench: This specialized wrench fits the bleeder valves on your hydraulic cylinders. The size varies by tractor model.
- Clean Rags or Shop Towels: Essential for cleaning up spills and keeping things tidy.
- Fluid Collection Container: Use a container to collect the used hydraulic fluid to prevent environmental contamination.
- Assistant (Optional): Having an extra pair of hands can make positioning the cylinder easier during the bleeding process.
Step-by-Step Bleed Procedure
The precise steps might vary slightly depending on your tractor's make and model. Always refer to your owner's manual for model-specific guidance.
Safety and System Preparation: Turn off the tractor's engine and ensure the hydraulic system is disengaged. Locate the bleeder valves on the hydraulic cylinders (refer to your owner's manual for their location).
Optimal Cylinder Positioning: Raise the hydraulic cylinder to its highest position. This allows air to rise and escape more easily. An assistant can help with this step.
Secure Wrench Attachment: Attach the wrench to the bleeder valve, ensuring a secure fit to prevent stripping the valve.
Gradual Valve Opening: Carefully and slowly open the bleeder valve slightly. A small opening is sufficient to release trapped air.
Hydraulic Control Operation: Slowly operate the tractor's hydraulic controls to lower the cylinder. This forces fluid through the system, expelling air.
Fluid Observation: Monitor the fluid exiting the bleeder valve. Look for a consistent, continuous stream without air bubbles. If bubbles persist, continue operating the hydraulics until they disappear.
Valve Tightening: Once the fluid flow is clear and consistent, carefully tighten the bleeder valve.
Multiple Valves: If your tractor has multiple bleeder valves, repeat steps 4-7 for each valve.
Fluid Level Check: After bleeding all valves, check the hydraulic fluid level and add more if necessary, referring to your owner's manual for the proper fill level.
Troubleshooting Common Issues
Even with careful execution, problems can arise. Here's a troubleshooting guide for common difficulties:
| Problem | Possible Cause(s) | Solution |
|---|---|---|
| No fluid output | Blocked valve, system blockage, major air lock | Try again; if unsuccessful, seek professional assistance. |
| Persistent air bubbles | Leak in the system, malfunctioning valve | Check for leaks thoroughly. Repeat bleeding process. A significant leak may require professional repair. |
| Cylinder malfunction persists | Worn seals, faulty valve, internal hydraulic damage | A thorough inspection is necessary; professional repair is likely needed. |
Remember, patience is key. If you encounter significant difficulties, or are uncomfortable with any aspect of the process, consult a qualified mechanic.
Bleeding Hydraulics with a Worn Seal: Advanced Considerations
A worn hydraulic seal significantly complicates the bleeding process by allowing air ingress. This section addresses challenges specific to this scenario.
Understanding the Impact: A worn seal allows air to enter the system more readily, making bleeding more difficult and potentially requiring seal replacement before optimal performance is restored.
Modified Bleeding Procedure:
- Valve Location: Locate bleeder valves (refer to your owner's manual).
- Tool Preparation: Gather necessary tools (wrench, container, rags, potentially fresh fluid).
- Valve Opening and Cycling: Carefully open bleeder valves incrementally while simultaneously cycling hydraulics to push out air. Resist forcing valves if met with resistance.
- Leak Monitoring: Continuously monitor for leaks around seals; a worn seal increases the likelihood of leaks.
- Repeat and Observe: Continue bleeding until only clean fluid emerges without air bubbles. This might require multiple cycles.
- Fluid Refill (If Necessary): Check and refill fluid as needed, using the correct type.
- System Testing: After refilling, rigorously test all hydraulic functions. Persistent issues indicate further troubleshooting or potential seal replacement is required.
Troubleshooting with Worn Seals:
- Slow Bleed: This could point to further blockages. Inspect and consider replacing the suction screen filter, especially if it’s degraded.
- Persistent Leaks: This strongly indicates seal replacement is necessary, often requiring partial system disassembly – consult a mechanic.
Always prioritize safety and consult your owner's manual for your specific tractor model. If you're unsure about any aspect of this process, seek professional help to avoid potential damage to your tractor's hydraulic system.